Time to dive in and just get started! I am going to run you through your first audio recording. There are some assumptions here.
- You have a computer
- You have a Microphone
- You have Headphones
- You have Software (Audacity, Audition, or Garageband).
Setting up the hardware
I happen to be on a Mac but this should be the same for any system. Firstly you are going to just connect your headphones to the jack. All laptops and desktops have a headphone output.
Microphone setup should be simple. Hopefully, you have an ATR2100 or better. You need to connect it to your system via the USB port. On newer Macs, you will need an additional adaptor to connect to a regular USB connection.
Setting up the software
Audacity
Audacity is the freebie of the group. It works well and has been used by several podcasts. It is a little difficult to use but with a little training, you will be a pro! It works on both Apple and Windows systems.
When you first open Audacity you are greeted with this screen:

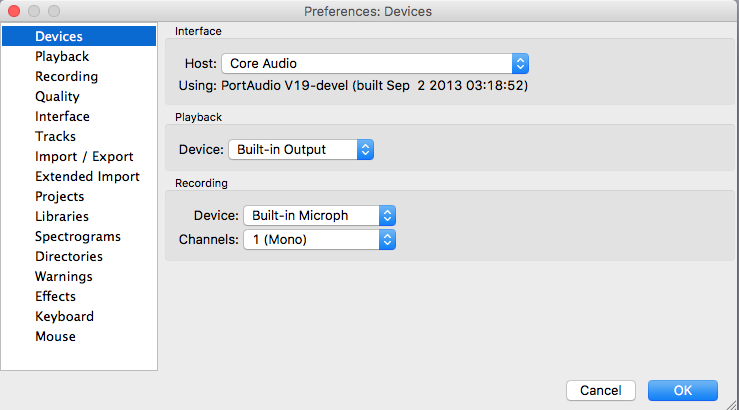
First thing is to go to the settings and make sure your microphone is selected:
Next, you need to install the MP3 libraries. This is only a one-time thing.
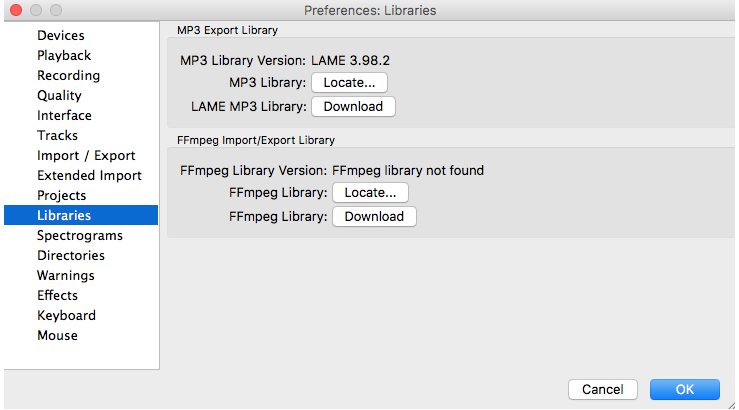
Click on “Download” and follow the instructions.
Now, time to start! Press “R” or click the record button to ![]() start.
start.
Just start talking!
Press Space to stop.
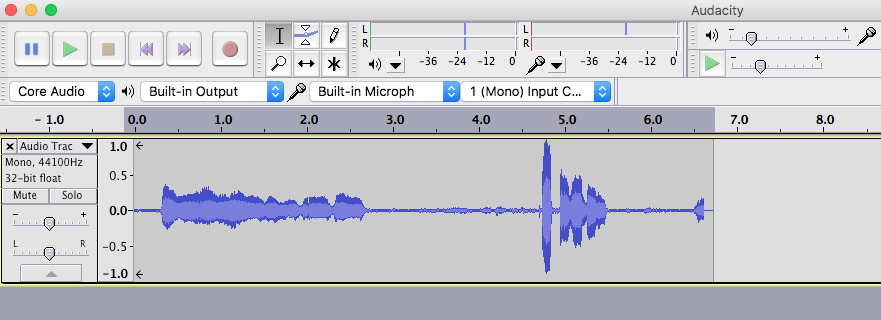
You will now have something like this:

First things first, those small blue lines are your audio. Just like a word document, select all by pressing CTRL+A or Command+A or double-clicking with the mouse on the sound. Once it’s selected, click on Effects->Normalize leave the settings default and you will now have this.
Click File->Export and give the file a name. Pay attention to where you put it. Also on the bottom, choose MP3 as the file format.
That’s it! You recorded your first episode!
GarageBand
GarageBand comes with most Apple computers but it can be purchased on the App store if you don’t have it already. There is no Windows version so the is Mac only.
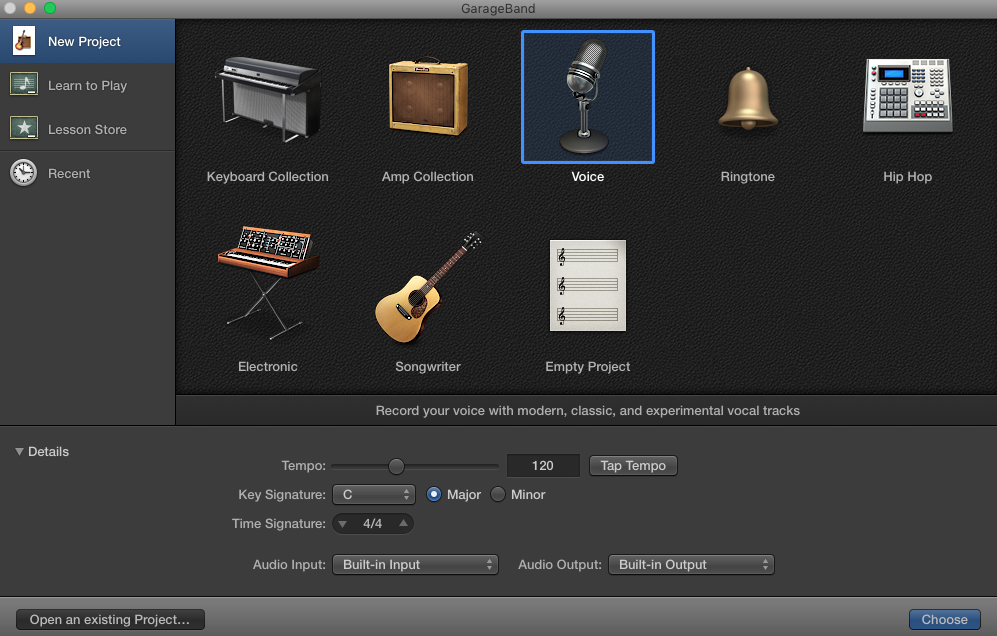
When you first open it up, choose a new project and select “Voice”.
Now, just click record and you are off to the races…
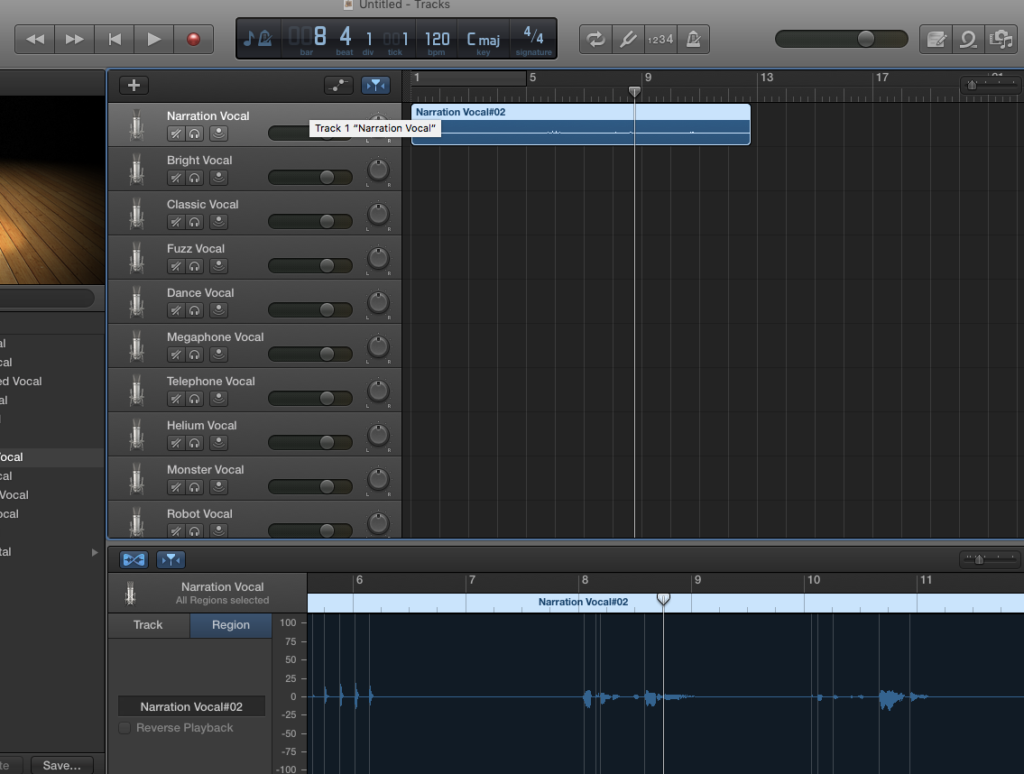
Now, GarageBand is pretty crappy at audio editing, so there is no effects processing like you will see with the other tools. In order to normalize like we did before, you have to select in on the export of the file.
Adobe Audition
Now, this one comes at a cost but is well worth it. It is the industry standard in the radio stations and professional studios out there! It’s also only $20.00 a month! That’s awesome! This is also available on both Windows and Apple systems.
Ok, let’s get a recording.
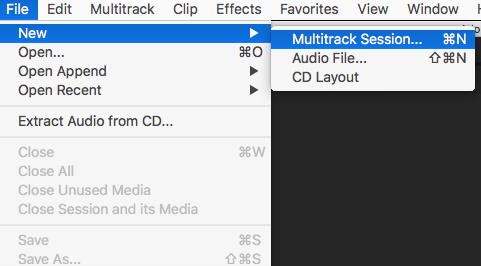
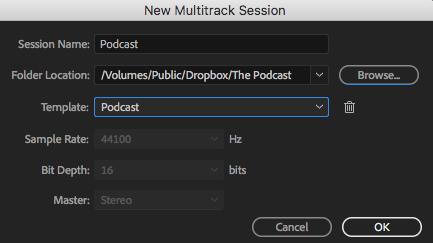
First thing is to start a new Multitrack recording
Give it a name, location, and pick the “Podcast” template
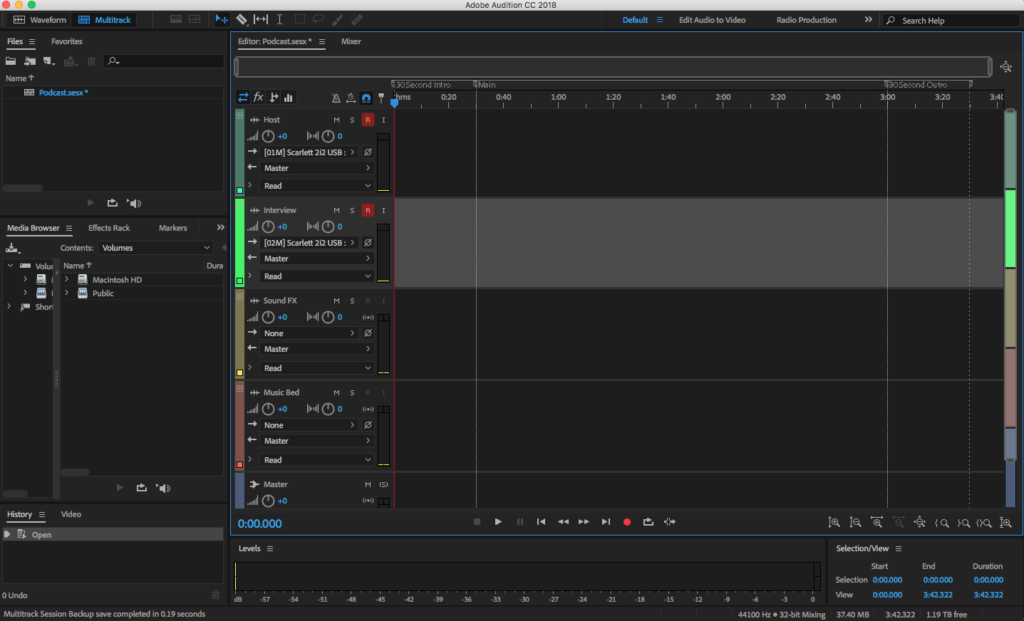
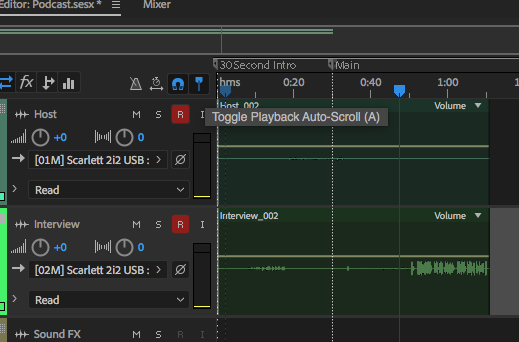
you will want to set the host (you) to your microphone and the guest to another channel. In this setup, I am using a Focusrite Scarlet 2i2 for recording which gives me two channels. Also, click the “R” because that will tell Audition that you want to record to that track.
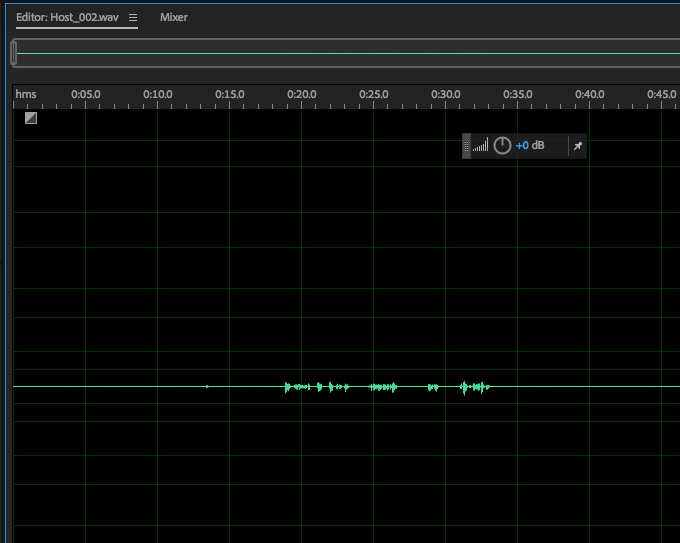
I just recorded a test call with Skype. Now as you can see the audio is small and that means low volume. Let’s kick it up a notch
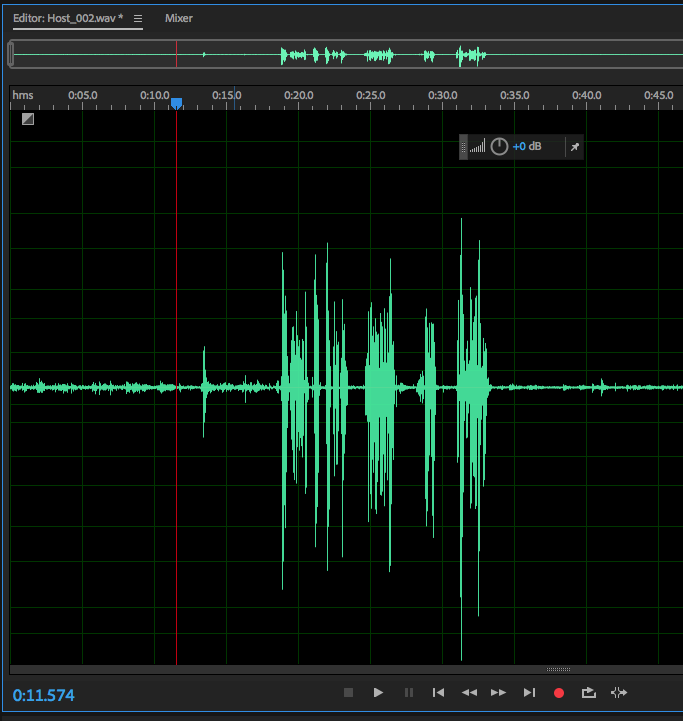
Double-click on the track you want to edit and you will see just that sound file.
Next we normalize:

Then we have this
Now we export
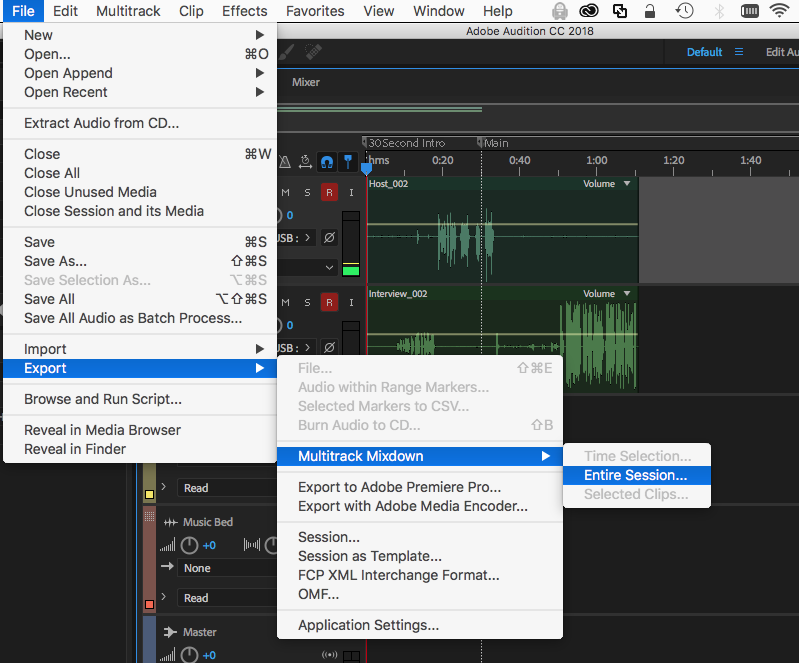
And thats it! I have now shown you how to record in all 3 major platforms. Now there is nothing in your way from becoming a master podcaster!